
Last updated September 10, 2026
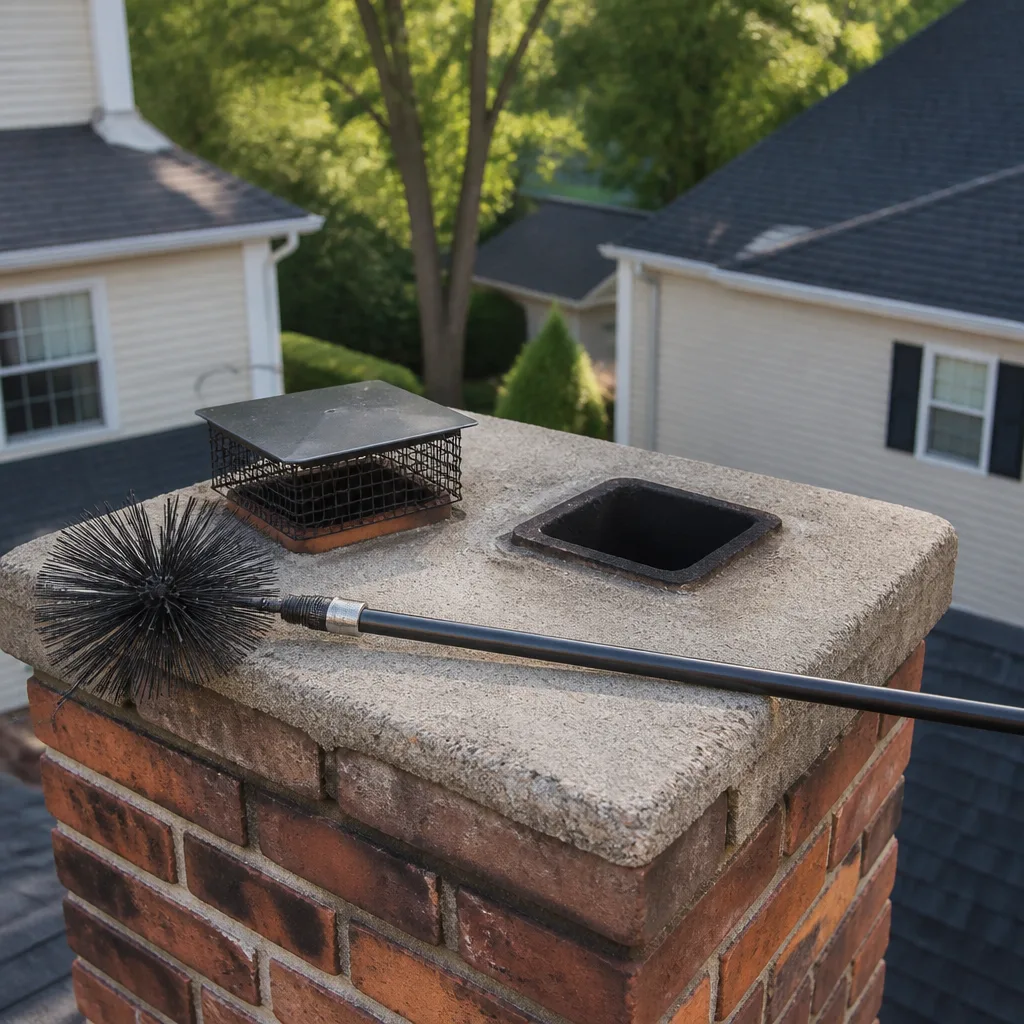
Level 1 sweep and inspection to the NFPA 211 annual standard - flue, crown, cap, and flashing checked and photographed
Chimney sweep logs do not sweep chimneys. They loosen some creosote - which then falls where a brush and vacuum still have to collect it.
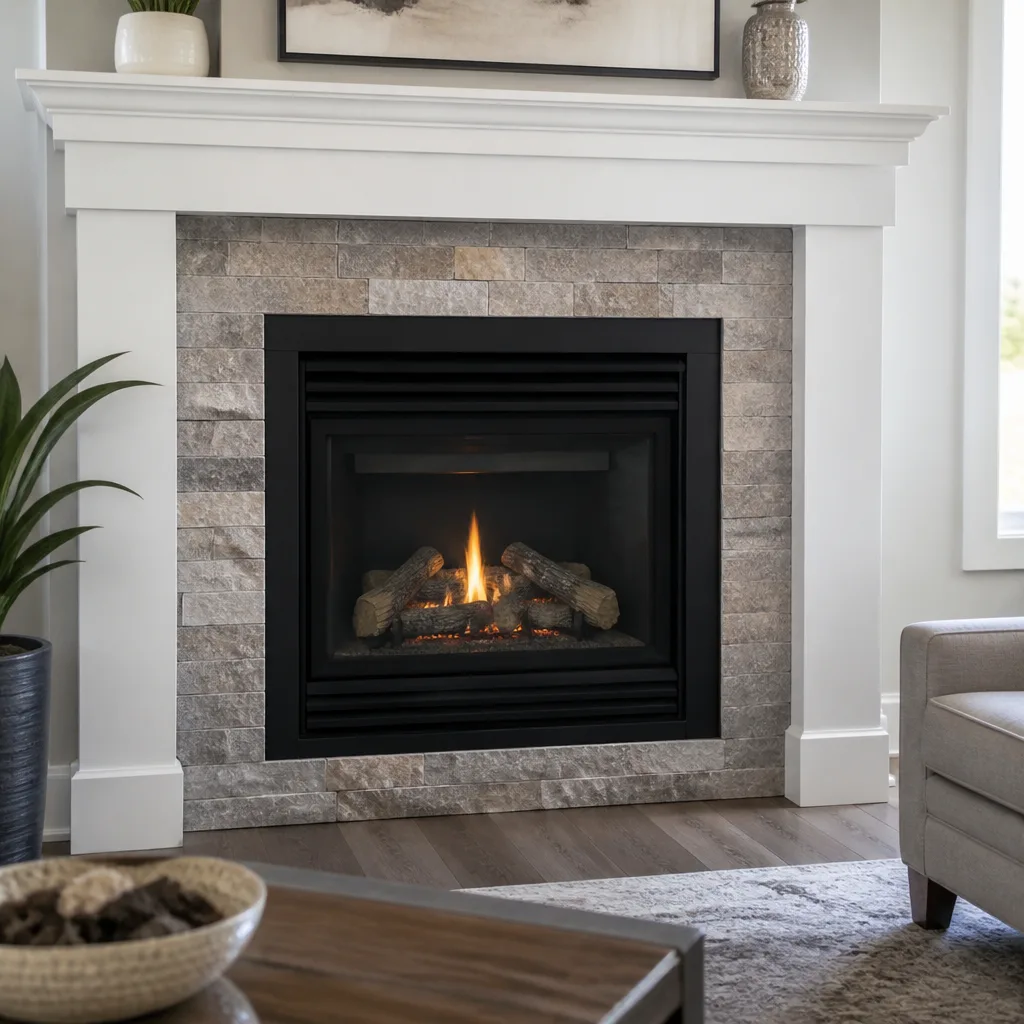
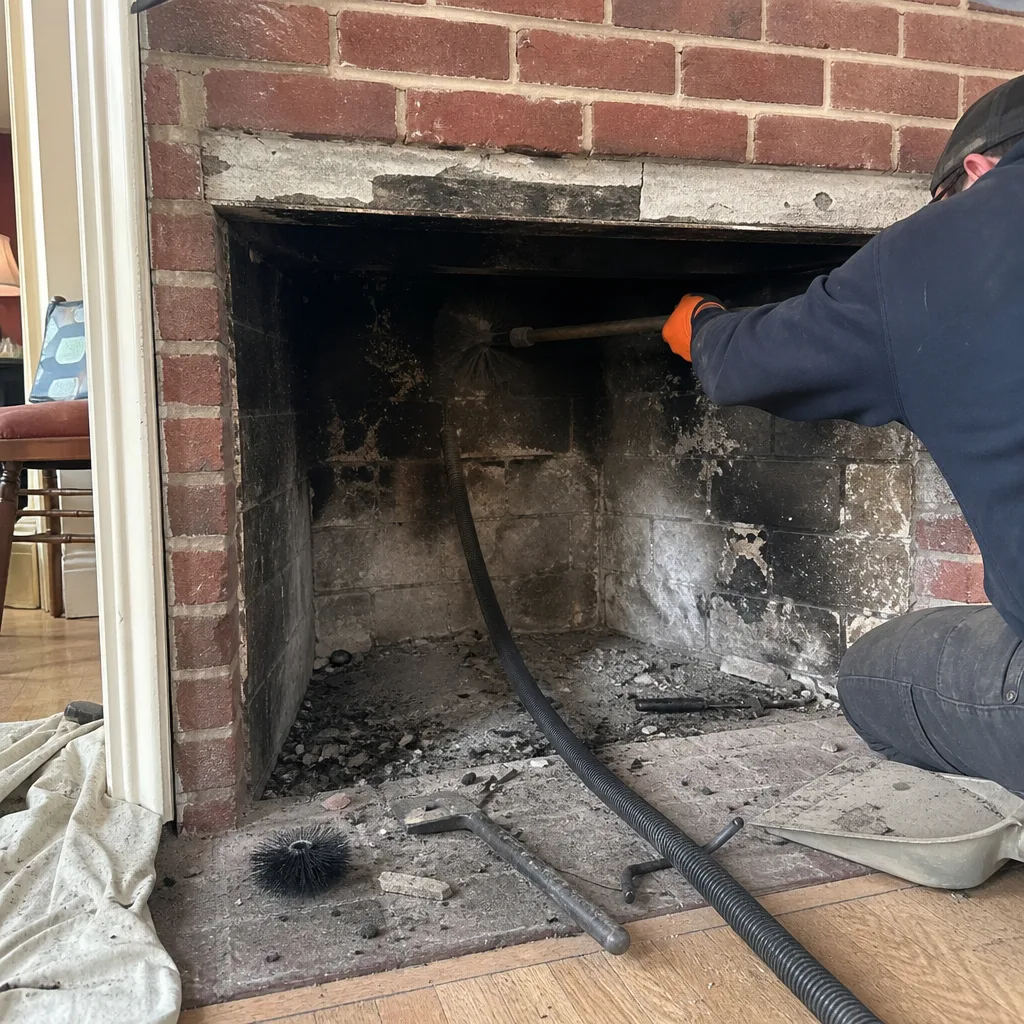 Before
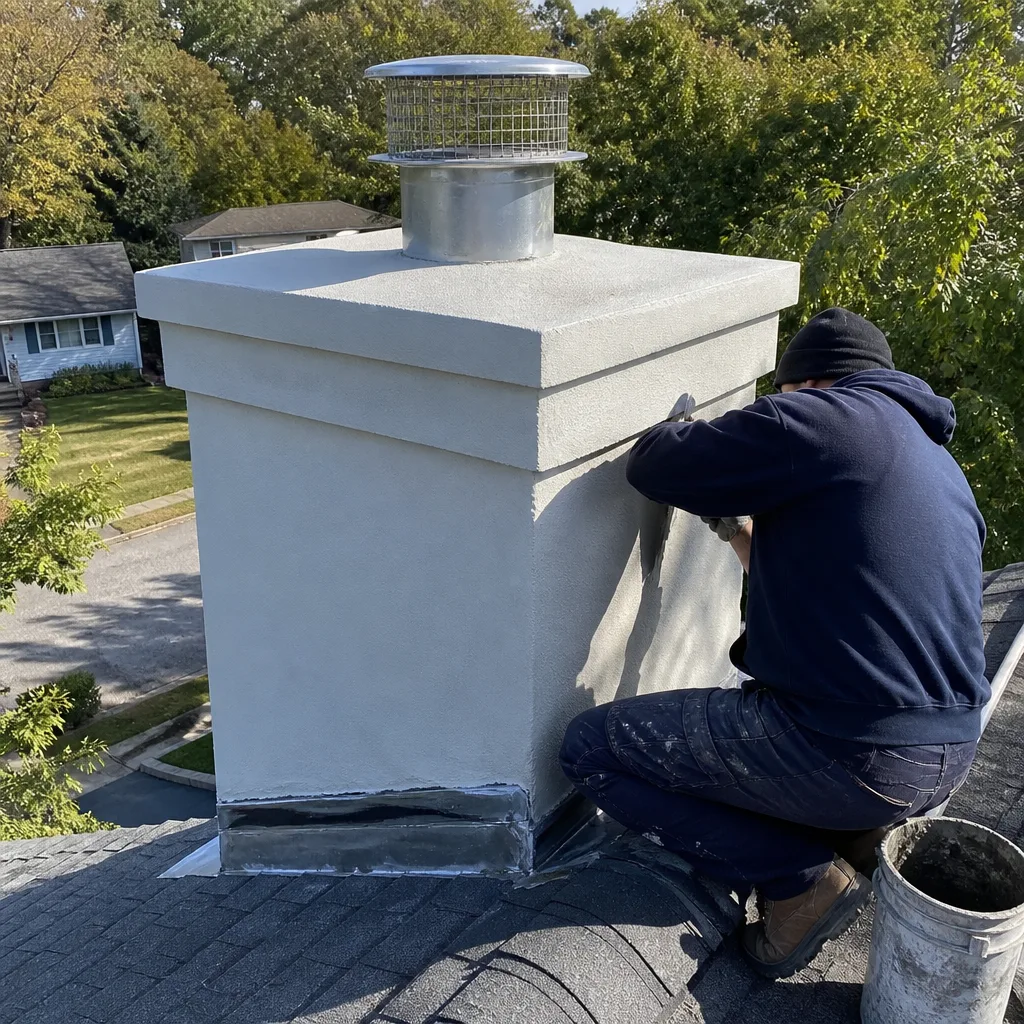 After
After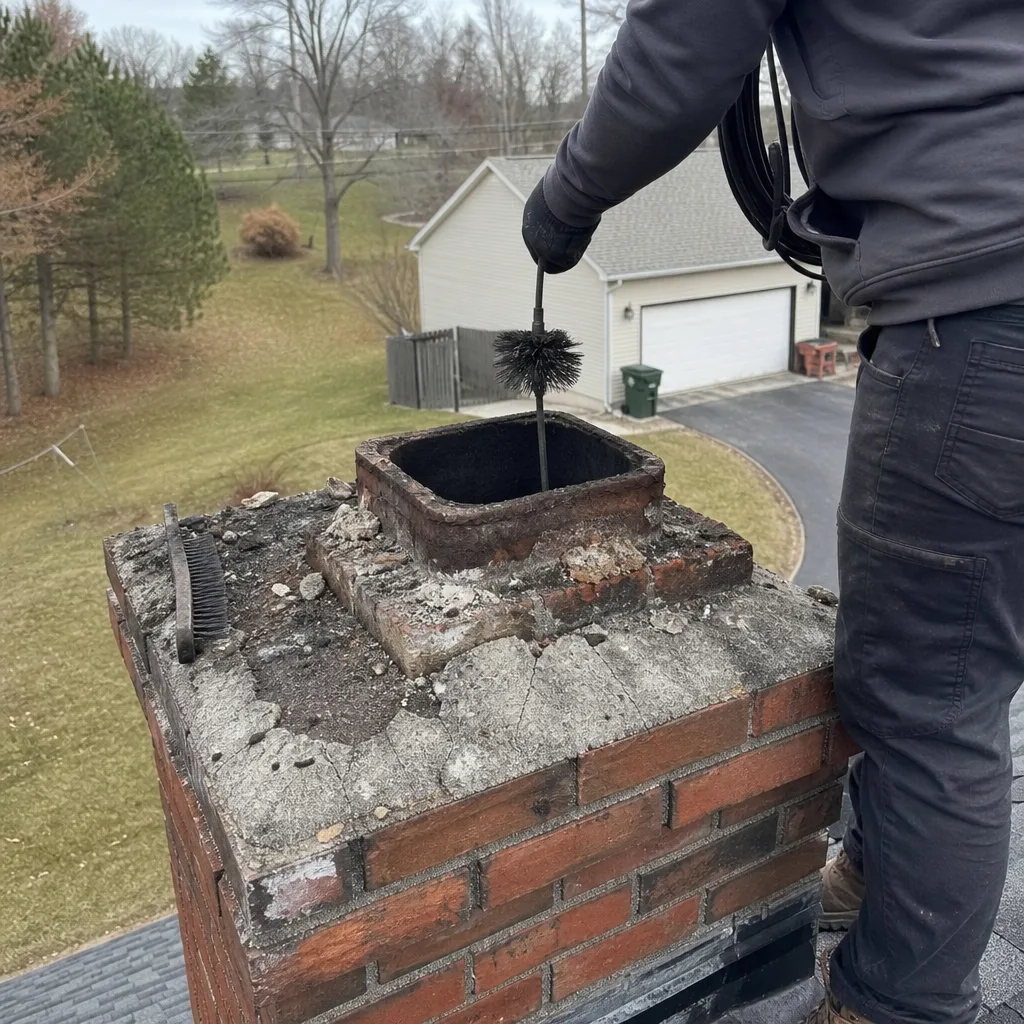 Before
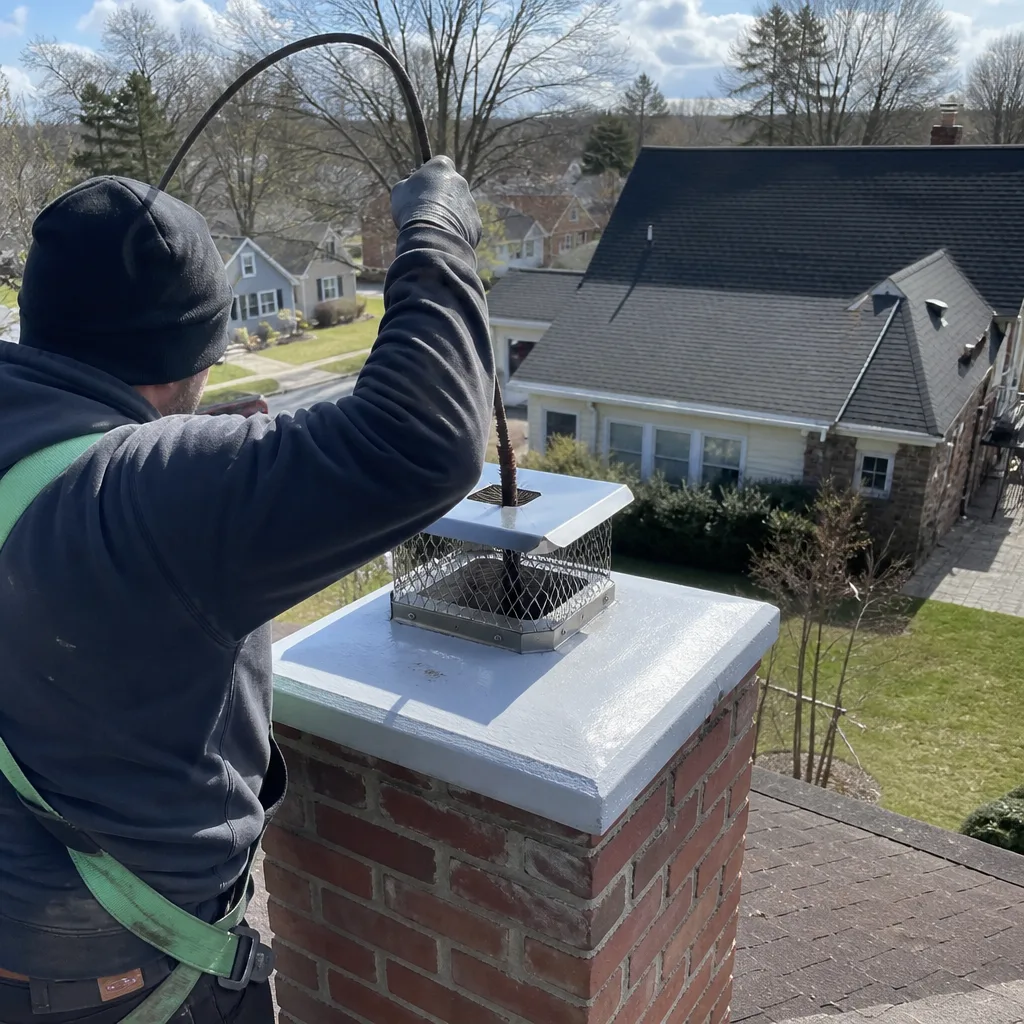 After
After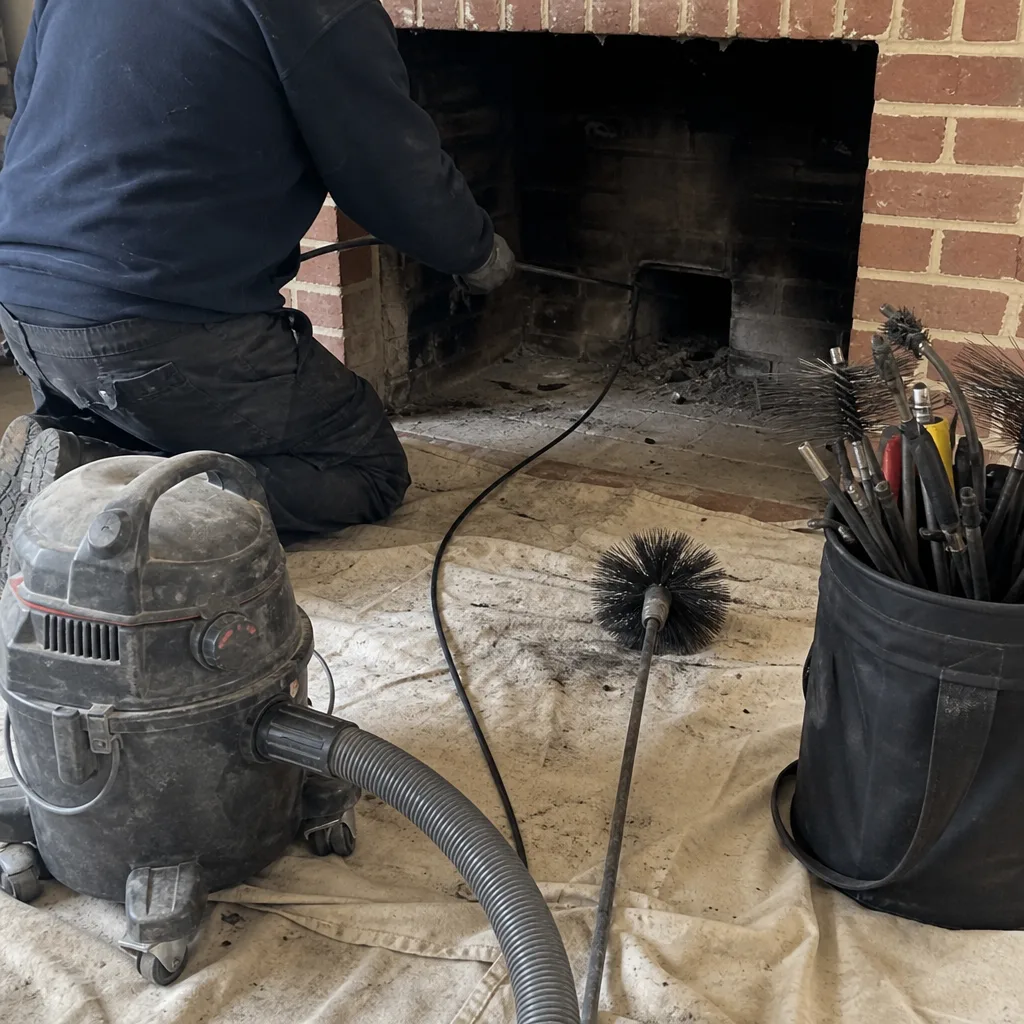 Before
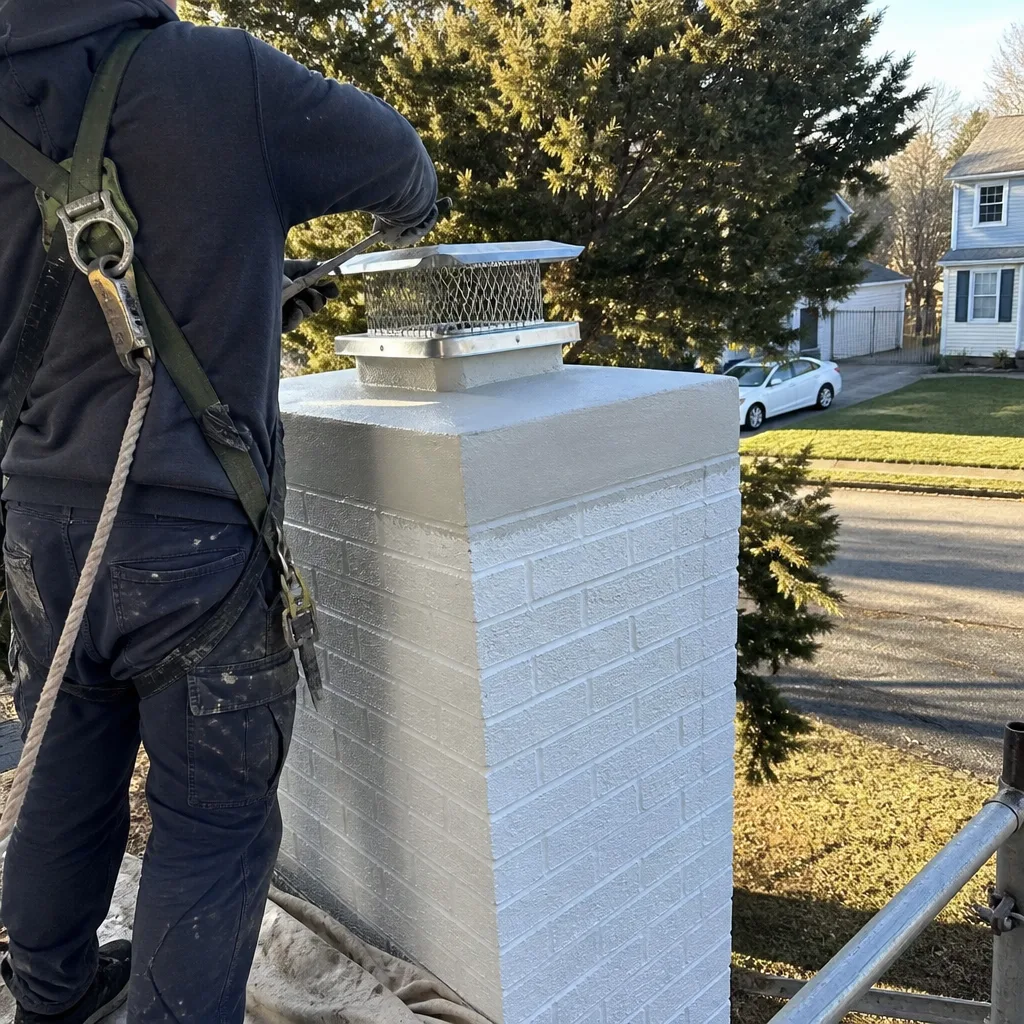 After
AfterChimney Cleaning & Sweep Maintenance Checklist for Seaford Homeowners
Most printable chimney checklists skip the chimney cap, the smoke chamber, and the exterior masonry - the three places where small seasonal damage in a coastal climate quietly becomes an expensive structural repair. In Seaford, we’ve seen homeowners follow generic national checklists to the letter while missing the white powder creeping across their brick (efflorescence from salt air) or the hairline crack in the crown that lets water freeze and expand through a Long Island winter. This guide builds a task-by-task maintenance checklist rooted in the actual materials, weather patterns, and home ages common to Nassau County. Use it to hold any sweep accountable, or to run your own between-season walkaround.
Quick Answer
A complete chimney maintenance checklist for Seaford homeowners includes annual Level-2 camera inspection, quarterly exterior masonry and cap checks, seasonal flue and smoke chamber evaluation, and documented photo records of all findings. Most Seaford homes built between 1950 and 1985 need particular attention to mortar erosion from salt air and thermal cycling. A professional Chimney Cleaning & Sweep with rotary equipment should happen annually for wood-burning systems and every two to three years for gas inserts, with all work backed by written documentation.
Table of Contents
- Why Seaford Chimneys Fail Differently Than Inland Systems
- The Room-by-Room, Inside-to-Outside Checklist
- Salt-Air Damage: What to Spot Before It Spreads
- DIY-Observable Tasks vs. Sweep-Required Assessments
- Photo Documentation: What to Capture and Why It Matters
- Seasonal Checklists by Quarter
- Tools and Materials for Homeowner Checks
- Common Mistakes to Avoid
- When to Call a Professional
- Frequently Asked Questions
- The Bottom Line
Why Seaford Chimneys Fail Differently Than Inland Systems
Seaford sits roughly four miles from the Atlantic at Jones Beach, close enough that prevailing southwest winds carry salt spray across backyards and rooflines year-round. That proximity changes how chimneys age. In our 42 years serving Nassau County, we’ve documented failure patterns that simply don’t appear in inland guides.
Salt-induced efflorescence shows up as white crystalline deposits on brick faces, especially on north and east exposures that stay damp longest. It looks cosmetic, but it signals moisture moving through the masonry, dissolving salts, and redepositing them at the surface. Each cycle pulls a tiny amount of material with it. Over fifteen or twenty years, the mortar joint recedes far enough that water penetrates the wall system.
Thermal cycling hits harder here too. Seaford’s coastal position moderates extreme cold but creates rapid temperature swings - a 40-degree January afternoon can drop to 18 degrees by evening. Masonry expands and contracts across that range, stressing crowns, caps, and flue tiles that were installed when temperature swings were narrower. Homes built during the 1960s and 1970s construction boom, common in neighborhoods like Seaford Harbor and the streets north of Merrick Road, often have flue liners rated for narrower thermal ranges than what they now experience.
Wind-driven rain enters from angles that standard flashing wasn’t designed to block. A cap that sheds water adequately in a sheltered inland yard fails when a March nor’easter drives rain horizontally against the chimney face. We’ve replaced caps in Seaford that looked fine from the ground but had their mesh screens rusted through from the inside out.
The checklist that follows accounts for these specific conditions, and draws on our Complete Guide to Chimney Cleaning in Seaford. It is organized in the sequence a professional sweep actually works - from the hearth outward - so you can follow along during a service visit or replicate the inspection yourself between appointments.
The Room-by-Room, Inside-to-Outside Checklist
This checklist mirrors how our technicians move through a Seaford home during a Level-2 inspection. Work through it in order; each step builds on the one before.
Step 1: Hearth and Firebox (Living Room or Den)
- Clear ashes to a metal container with a tight lid; store outside on concrete, never on a wood deck or against the house. Ashes can hold live embers for 72 hours.
- Inspect firebrick for spalling (flaking or chipping surfaces). Spalled brick loses its refractory rating and transfers more heat to surrounding framing.
- Check the damper plate for corrosion, warping, or incomplete closure. A damper that won’t fully close costs significant heating dollars and can allow down-drafts.
- Look for staining or rust on the damper frame - indicator of condensation or water entry from above.
- Examine the smoke shelf (visible with a flashlight looking up from the firebox) for excessive creosote buildup or debris. Birds, squirrels, and raccoons are active year-round in Seaford’s mature tree canopy.
Step 2: Smoke Chamber and Throat
- From the firebox, sight upward to evaluate the smoke chamber walls. Parged (smoothed) surfaces should be intact; exposed corbelled brick creates turbulence that deposits creosote.
- Measure or estimate the chamber’s slope - it should funnel smoothly toward the flue. Sharp angles or shelf-like protrusions indicate improper original construction common in 1960s-era Seaford ranches.
- Check for gaps between the throat damper and the chamber walls. Gaps larger than 3/8 inch allow smoke spillage into the room during start-up.
Step 3: Flue and Liner (Requires Camera for Full Evaluation)
- Visually inspect the flue from below for obstructions, heavy glazing, or tile displacement.
- Note any vertical cracks in clay flue tiles - thermal shock cracks run top to bottom; structural cracks run horizontally or diagonally.
- Document the liner’s condition with photos if accessible. Stainless steel liners (brands like DuraFlex that we install) show different wear patterns than original clay.
- Check for creosote stage: Stage 1 (sooty, brushes off), Stage 2 (shiny, hardened), or Stage 3 (glazed, tar-like). Stage 3 requires rotary cleaning equipment; hand brushing won’t remove it.
Step 4: Exterior Masonry and Crown (Ground and Roof Level)
- From the ground, scan for missing or eroded mortar joints, especially on the weather side. Binoculars help; a drone camera helps more.
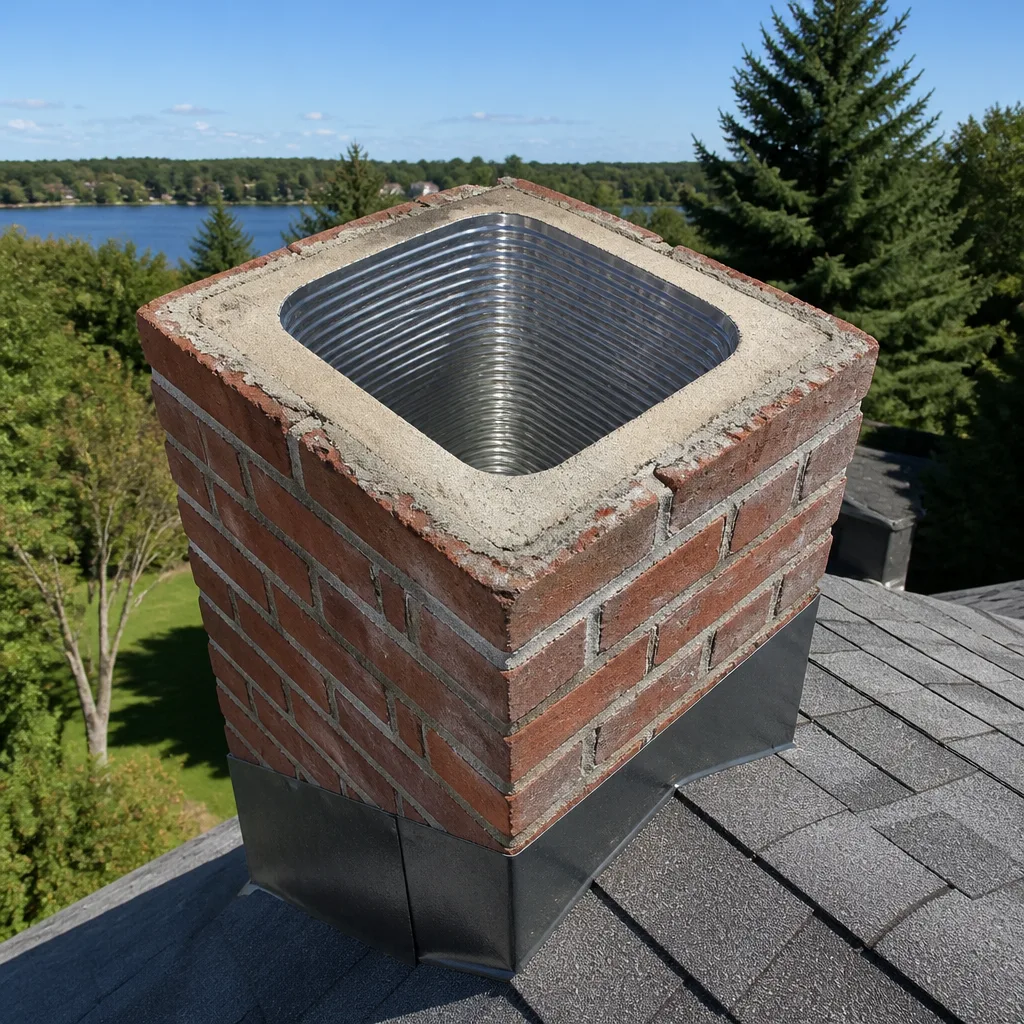
- Examine the crown (the concrete slab topping the chimney) for cracks, deterioration, or separation from the flue tile. A proper crown overhangs the brick by at least 2 inches with a drip edge underneath.
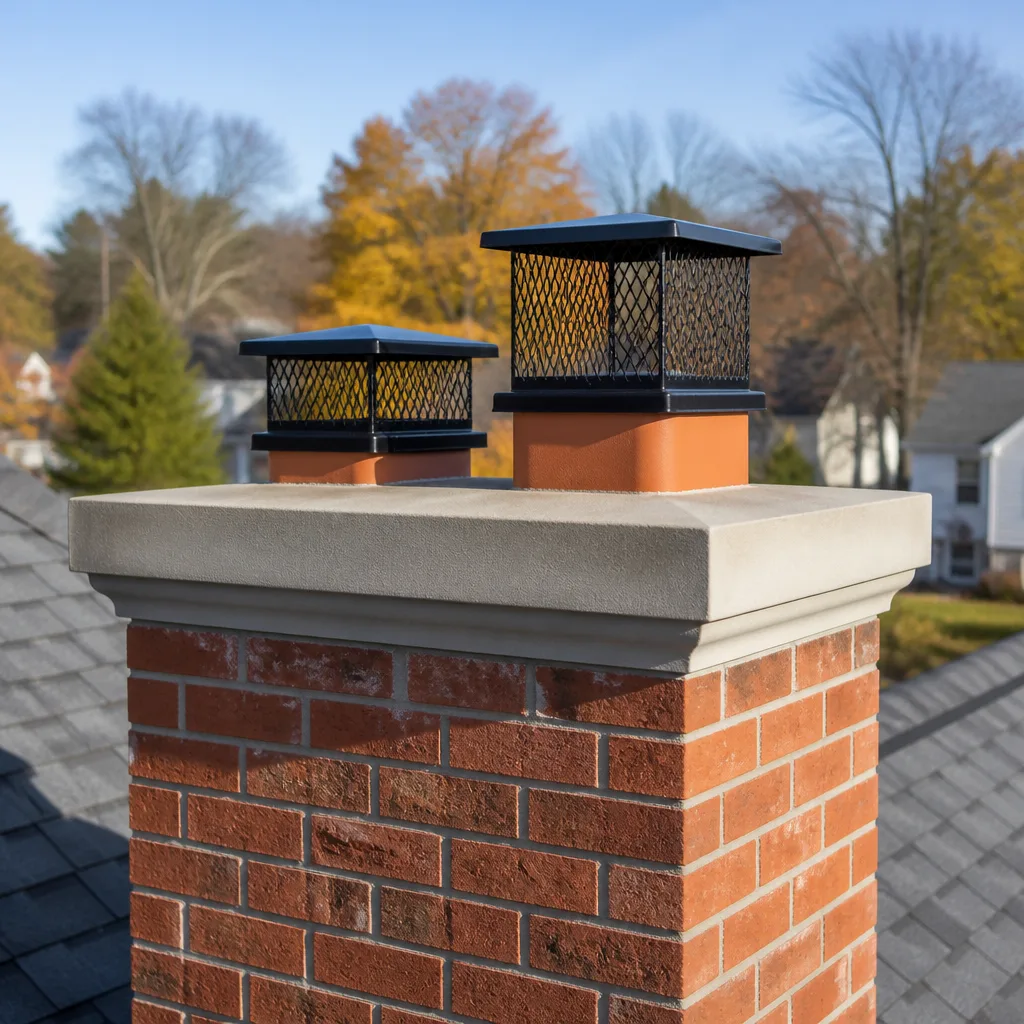
- Inspect the cap for corrosion, mesh integrity, and proper fit. Copperfield and Famco caps we install carry longer corrosion warranties than big-box alternatives.
- Check flashing where the chimney meets the roof - step flashing, counter-flashing, and sealant condition. This is the single most common leak point we repair in Seaford.
- Look for efflorescence on the brick face, particularly below the roofline and on shaded exposures.
Step 5: Attic and Framing (If Accessible)
- Inspect for signs of pyrolysis - discolored or charred wood near the chimney chase. This indicates long-term heat exposure and requires immediate professional evaluation.
- Verify proper clearance between chimney and combustibles: typically 2 inches for masonry chimneys, but varies by construction era and local amendments.
- Check for water staining on attic sheathing or insulation below the chimney penetration.
Complete documentation of this sequence takes 45 to 90 minutes for a homeowner working carefully. A professional Chimney Cleaning & Sweep in Seaford with rotary equipment and camera inspection completes it in 60 to 90 minutes, with the addition of internal flue imaging you cannot replicate without specialized tools.
Salt-Air Damage: What to Spot Before It Spreads
Seaford’s coastal environment creates three deterioration patterns that inland checklists miss entirely. Recognizing them early saves the cost of partial or full rebuilds.
Efflorescence timeline: White powder appears within 3 to 5 years of exposure on unsealed brick in Seaford’s climate. By year 8 to 12, the mortar joint face begins to recess. By year 15, joint erosion exceeds 1/4 inch depth and water penetration accelerates dramatically. We’ve rebuilt chimney faces in the Seaford Harbor area where homeowners watched efflorescence for a decade without understanding it signaled internal damage.
Accelerated mortar erosion: Standard Type N mortar in a Seaford chimney loses binding strength faster than the same mortar in Hicksville or Bethpage. The salt doesn’t just sit on the surface; it hygroscopically attracts moisture, keeping the mortar damp through freeze-thaw cycles that would otherwise pass harmlessly. Repointing with Type N in this environment buys 10 to 15 years; repointing with a modified, lower-permeability mix extends that to 20 to 25.
Cap corrosion patterns: Galvanized steel caps in Seaford show rust-through at the mesh screen within 7 to 10 years, and at the base flange within 12 to 15. Stainless steel or copper caps last 20-plus years but cost 2.5 to 3 times as much upfront. The math favors stainless for homeowners planning to stay, which describes most of our Seaford customers.
Spotting these conditions requires knowing where to look. Check north and east faces monthly during heating season - the damp, shaded exposures fail first. Photograph the same mortar joints each October to compare year over year. A joint that loses 1/8 inch of depth in a single year needs professional evaluation; gradual recession over five years is normal aging.
DIY-Observable Tasks vs. Sweep-Required Assessments
Honest assessment of what you can see versus what requires professional tools protects both your safety and your wallet. We encourage Seaford homeowners to perform regular walkarounds - it makes our job easier and your records better. But some conditions simply cannot be evaluated without equipment.
Tasks Most Homeowners Can Perform Safely
- Visual inspection of exterior brick, mortar, crown, and cap from ground level
- Damper operation and closure check from the firebox
- Firebrick spalling and ash removal
- Smoke shelf debris check with a strong flashlight
- Attic clearance and staining inspection (if attic access is safe and stable)
- Documentation photography of all visible conditions
- Carbon monoxide detector and smoke alarm testing near the hearth area
Tasks Requiring Professional Tools and Training
- Internal flue inspection with video camera - required by NFPA 211 for Level-2 inspections, and the only way to see vertical cracks, tile displacement, or liner corrosion hidden from below
- Creosote stage determination and removal - Stage 2 and 3 glazed deposits require rotary chains or whips; hand brushing polishes the surface without removing the hazard
- Smoke chamber parging evaluation and repair - access requires specialized ladders and often scaffolding
- Crown integrity testing - surface cracks visible from the ground may be cosmetic; structural cracks that allow water into the chimney core require close inspection and often moisture meter verification
- Flashing leak diagnosis - water entry points rarely align with visible interior stains; tracing the path requires experience with Seaford’s specific roof pitches and common flashing failures
- Liner sizing and combustion analysis - gas appliance venting requires draft pressure measurement and CO testing; visual inspection alone is insufficient
The boundary between these categories matters for safety. A homeowner who attempts to clean a flue with a hardware-store brush and encounters a bird nest or collapsed clay tile risks chimney fire or carbon monoxide exposure. The same homeowner who documents exterior conditions quarterly and calls us when mortar recession accelerates saves hundreds in early-intervention repairs.
For Chimney Repair in Seaford that addresses conditions beyond DIY scope, we document everything with photos and a plain-English verdict - no jargon, no pressure, just what we found and what it means.
Photo Documentation: What to Capture and Why It Matters
Photo records serve two purposes: they create a baseline for year-over-year comparison, and they protect you in disputes with insurance companies or future contractors. We’ve seen both scenarios repeatedly in Seaford.
What to Photograph Annually
- Full chimney exterior from four compass points. Stand at consistent locations - the northwest corner of your yard, the driveway edge, etc. Same angle, same distance, same lighting if possible. This reveals gradual changes invisible in day-to-day observation.
- Crown close-up from the highest safe vantage. If you can access the roof safely, photograph the crown surface, the flue tile protrusion, and the crown-to-brick interface. If not, a zoom lens from the highest window works.
- Cap detail showing mesh condition and base flange. Corrosion starts at the mesh and works inward; early photos prove pre-existing condition if a storm claim arises.
- Ground-level mortar joint close-ups at four points around the chimney base. Place a coin or ruler in frame for scale reference.
- Firebox and damper assembly. Flash photography reveals spalling, rust, and creosote buildup that dim ambient light hides.
- Attic framing near chimney if accessible. Document clearances and any staining annually.
Storage and Organization
Create a dated folder structure: Chimney_Records/2024_October, Chimney_Records/2025_April, etc. Include the service invoice or your own inspection notes in the same folder. When you call us or any other sweep, reference the prior year’s photos - it accelerates diagnosis enormously.
Insurance and Contractor Protection
In 2019, a Seaford homeowner on Washington Avenue faced a denied insurance claim after a chimney fire. The insurer argued pre-existing neglect. The homeowner produced five years of dated photos showing gradual, documented maintenance. The claim was paid. Photos don’t guarantee outcomes, but they eliminate the “he said, she said” that insurers exploit.
Similarly, if a contractor recommends $4,000 in repointing, your photo history reveals whether mortar recession accelerated suddenly (suggesting a specific event or acute failure) or progressed gradually (suggesting normal aging that may allow phased repair). We welcome photo records at every Fireplace Services in Seaford appointment - they make our assessment more precise and your decision more informed.
Seasonal Checklists by Quarter
Seaford’s heating season runs roughly mid-October through mid-April, with shoulder months that demand different attention. These quarterly checklists time maintenance to when it matters.
October: Pre-Season Verification (Critical)
Complete this checklist before first fire. Conditions found in October can be repaired before daily heating demand begins.
- Schedule professional inspection and cleaning if not done in prior 12 months
- Test all smoke and CO detectors; replace batteries regardless of test result
- Verify damper opens fully and closes tightly
- Inspect firebrick for new spalling since last season
- Check exterior for bird nests, wasp nests, or debris in cap mesh
- Photograph exterior baseline for comparison
- Verify wood supply is seasoned (20% moisture or less) - unseasoned wood creates Stage 3 creosote in a single season
January: Mid-Season Check
Heavy use period; watch for performance changes that signal developing problems.
- Note any smoke spillage at start-up - indicates damper, smoke chamber, or flue draft issues
- Check for unusual odors - musty smells suggest water entry; acrid smells suggest creosote buildup
- Inspect exterior after major storms for cap displacement or new mortar damage
- Monitor burn efficiency; sluggish fires or difficulty establishing draft suggest flue obstruction or liner damage
April: Post-Season Assessment
After final fire, before humidity rises. Best time for major repairs - contractors have availability, and you won’t need the system for months.
- Schedule cleaning if creosote buildup exceeded 1/8 inch during season
- Photograph exterior for year-over-year comparison while lighting is consistent with prior April
- Inspect crown and flashing for winter damage - freeze-thaw is hardest on these components
- Evaluate cap corrosion progress; plan replacement if rust-through is visible
- Document any performance issues from January check for contractor discussion
July: Off-Season Maintenance Window
Lowest demand period; ideal for major repairs, liner installation, or rebuild scheduling.
- Review photo records and identify trends requiring attention
- Obtain estimates for any work identified in April; compare multiple contractors if desired
- Verify homeowner’s insurance coverage for chimney-related losses; update if you’ve made improvements
- Plan wood procurement for following season - early ordering secures better seasoned stock
The October and April checks are non-negotiable for Seaford homes with wood-burning systems. Gas systems can stretch to annual inspection in April, but the coastal environment still demands cap and exterior review each fall before heating season begins.
Tools and Materials for Homeowner Checks
You don’t need professional equipment to perform meaningful observation. These tools support the checklist above at reasonable cost.
| Tool | Purpose | Approximate Cost |
|---|---|---|
| LED flashlight, 1000+ lumens | Firebox, smoke shelf, and attic inspection | $25-$45 |
| Binoculars, 8×42 or 10×42 | Ground-level exterior and cap inspection | $80-$150 |
| Digital camera or smartphone with date stamp | Documentation photography | Existing device |
| Moisture meter (pin-type) | Seasoned wood verification; optional for masonry | $30-$50 |
| Telescoping inspection mirror | Smoke chamber and damper underside viewing | $15-$25 |
| Carbon monoxide detector, digital readout | Continuous monitoring near hearth | $40-$60 |
| Metal ash container with lid | Safe ash storage | $25-$40 |
Total investment under $300 for tools that last a decade. Compare that to the average Seaford chimney fire claim ($12,000 to $18,000 in our experience) or a neglected rebuild ($8,000 to $15,000). The return is immediate and continuous.
For the inspection itself, we use professional-grade materials from HeatShield for smoke chamber resurfacing, DuraFlex for liner installations, and Famco and Copperfield for caps and venting components. These aren’t the brands you’ll find at hardware stores; they’re specified by sweeps who warranty their work and need materials that hold up to Seaford’s specific conditions.
Common Mistakes to Avoid
- Assuming gas fireplaces need no maintenance. Gas systems produce corrosive condensation and require annual inspection of the liner, draft, and burner assembly. We’ve replaced collapsed gas liners in Seaford homes where owners skipped inspection for a decade.
- Cleaning from the top down without proper equipment. Roof access without fall protection is genuinely dangerous; more importantly, top-down brushing without a vacuum collection system deposits debris in the smoke shelf and firebox, creating a fire hazard and mess.
- Ignoring efflorescence as “just cosmetic.” In Seaford’s salt-air environment, efflorescence is early-stage moisture damage. Address the water source (usually crown cracks or flashing failure) or face repointing costs that multiply annually.
- Using unseasoned wood because “it’s cheaper.” Green or partially seasoned wood creates glazed creosote that requires professional rotary removal. The apparent savings vanish in the first professional cleaning, and the fire risk persists until removal is complete.
- Skipping photo documentation because “I’ll remember.” Human memory is unreliable for gradual changes; photos provide objective evidence that protects your investment and supports insurance claims.
- Hiring based on lowest price without verifying scope. A $99 “sweep special” that brushes the flue without camera inspection, smoke chamber evaluation, or written documentation leaves critical conditions undiscovered. In Seaford’s competitive market, we’ve seen homeowners pay for three cheap sweeps before discovering they needed a liner replacement that a proper initial inspection would have identified.
- Delaying repair because “it’s still working.” Chimney failures cascade. A cracked crown admitted water that spalled flue tiles that obstructed draft that caused smoke spillage that led to a house fire - a sequence we documented in a 1972 Seaford ranch in 2017. Early intervention at the crown crack stage would have cost $800; the fire restoration exceeded $200,000.
When to Call a Professional
Call a sweep immediately if you observe smoke entering the room during normal operation, detect a persistent sharp or acrid odor, see visible cracks in the flue tile from below, or notice new water staining on walls or ceilings near the chimney - all warning signs detailed in our Chimney Cleaning Warning Signs: A Seaford Homeowner’s Reference Guide. These conditions indicate active hazards that homeowner observation cannot resolve.
Schedule professional evaluation within two weeks for efflorescence that appears suddenly, mortar recession exceeding 1/4 inch, cap displacement after storms, or damper mechanisms that no longer operate smoothly. These conditions permit brief scheduling flexibility but worsen with weather exposure.
Annual professional service is appropriate for all active wood-burning systems and for gas systems in homes built before 1990, when liner standards were less stringent. In Seaford’s coastal environment, we recommend Level-2 camera inspection annually for wood-burning systems and every two years for gas inserts - more frequent than NFPA 211 minimums because of salt-air acceleration of deterioration.
Hearthstone Chimney Co. offers free estimates in Seaford - call (516) 614-4632. Our technicians arrive in uniform, complete most jobs in a single visit, and provide photos you can see with a plain-English verdict. The number on the estimate is the number on the invoice. And every job is backed by our 90-Day Done Right Promise: in writing, no arguing.
Frequently Asked Questions
A complete chimney cleaning with Level-2 camera inspection in Seaford typically ranges from $250 to $450 for a standard masonry fireplace, depending on creosote buildup stage, accessibility, and whether the smoke chamber requires resurfacing. Gas fireplace inspections run $150 to $275. Our $89 Seasonal Tune-Up covers basic cleaning and safety check for qualifying systems, and we offer $50 off any repair over $250. Call (516) 614-4632 for an exact quote - estimates are free.
Wood-burning systems in Seaford should be swept annually, and inspected with camera equipment annually, due to the accelerated creosote accumulation from our coastal humidity patterns and the salt-air stress on liners and caps. Gas systems can extend to every two to three years for cleaning, but still require annual safety inspection of the burner, pilot, and venting. If you burn more than three cords of wood per season, schedule a mid-season inspection.
You need a new liner when camera inspection reveals cracks, gaps, or corrosion that compromise the flue’s ability to contain combustion byproducts - not when a sweep simply recommends it. In Seaford, we show you the camera footage and explain exactly what we found. Clay tile displacement of more than 1/2 inch, vertical cracks visible in two or more tiles, or stainless steel liner corrosion exceeding 20% of wall thickness are replacement triggers. Lesser damage can often be monitored annually. Nothing is recommended without camera evidence you can see for yourself.
Skipped maintenance leads to three predictable outcomes: creosote accumulation that fuels chimney fires (over 25,000 annually in the U.S.), water infiltration that destroys masonry from the inside out, and liner deterioration that allows carbon monoxide or combustion gases into living spaces. In Seaford’s salt-air environment, these timelines compress by 20 to 30% compared to inland locations. A chimney that might last 25 years with maintenance fails at 15 without it.
You can remove light Stage 1 soot with a properly sized brush and rods, but you cannot safely evaluate flue condition, smoke chamber integrity, or liner damage without camera equipment and training. In our experience, DIY brushing in Seaford homes often polishes creosote without removing it, creating a false sense of security. We recommend professional service for the inspection component even if you handle light cleaning yourself.
Efflorescence is white crystalline salt deposit on brick surfaces, caused by moisture moving through masonry and evaporating at the surface. In Seaford, it’s both more common and more serious than inland because salt spray provides additional soluble minerals and coastal humidity sustains the moisture migration that drives it. Early efflorescence signals water entry that will eventually destroy mortar joints; advanced efflorescence with spalling (flaking brick faces) indicates active masonry deterioration requiring professional repair.
The Bottom Line
A chimney maintenance checklist only protects your home if it reflects actual local conditions. In Seaford, that means accounting for salt-air acceleration of mortar erosion, wind-driven rain entry angles, and thermal cycling stress on materials installed decades ago. Work through the room-by-room sequence provided here, photograph everything, and time your inspections to the quarterly rhythm that matches our heating season. Know which tasks you can observe safely and which require professional tools. For more guides & resources, explore our blog. Most importantly, never let a recommendation pass without camera evidence you can see and a plain-English explanation you understand. Done right - and we stand behind it.
Written by Russell Haines, Owner at Hearthstone Chimney Co., serving Seaford since 2014.